Step 1. Basics - Setting up a new System
When you start with a clean new system these are your first steps
Go to The Admin Section
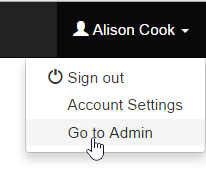
Log in as an administrator level user. Under your login status you will see the link to Go to Admin.
Add some Divisions
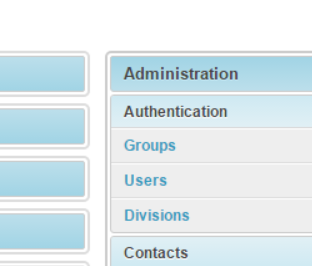
Divisions are used as a way of giving ownership and the segregation of items. Managerial users can see items in their divisions. So the first task is to create your initial structure. This can be changed and modified as your needs and understanding of the system improves, so do not worry about getting it perfect. Click on the divisions link to open and add new.

Click on the add division link
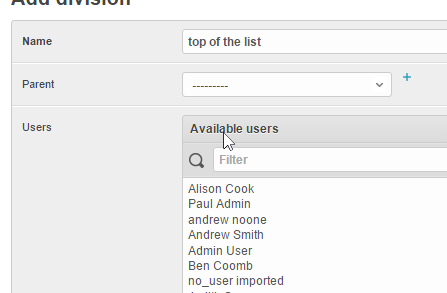
User permissions run downhill. So you can create a hierarchy of divisions. To build the structure start with what will be at the top, such as "The Group" When you add further divisions you can choose a parent where this new division will sit under.
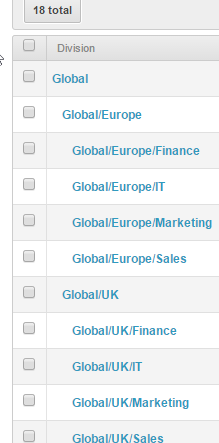
The above example shows Global at the top, there are 2 divisions under global "UK and Europe" and each of those have divisions under them.
Permissions: Permissions run downhill only. So a user assigned to Global/UK can view anything in the divisions below and in that hierarchy but can not see above or sideways. Meaning the user cannot see anything in Global or Global/Europe. Please remember this when assigning users to divisions, over assignment may cause the users access to slow. If you want a user to have full access to everything under a division just sign to the highest point in the structure where the users view rights should begin.
Rebuild Hierarchy
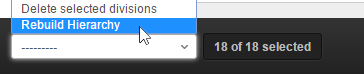
If your hierarchy goes out of sync or looks messy use the rebuild Hierarchy option from the foot of the divisions page, it is good practice to do this each time you finish adding new divisions.
Quick back links
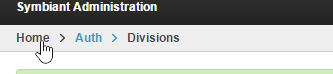
Use the path links at the top left of the page to move up and home.
Quick Exit
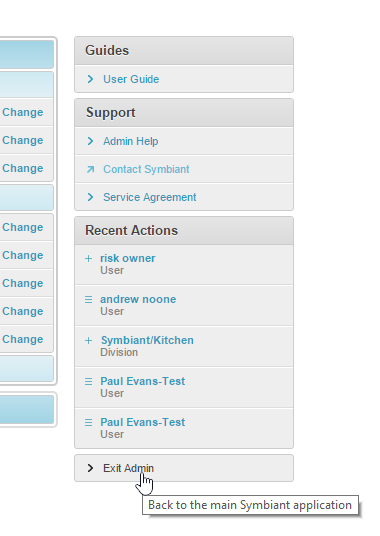
To quickly exit admin and return to the main section, click the Exit Admin link.